Categories
Front-end Development JavaScript

TypeScript or JavaScript? Which One is Right for Your Project?

Reading Time: 3 minutes

Hello there! Today, I’m going to talk about one of the commonly asked questions in the world of web development: TypeScript versus JavaScript. Both languages are used extensively in modern web development, but they have their own unique features and use cases. So, let’s dive into it and find out when to use TypeScript and when to use JavaScript.

TS – A Superset of JS

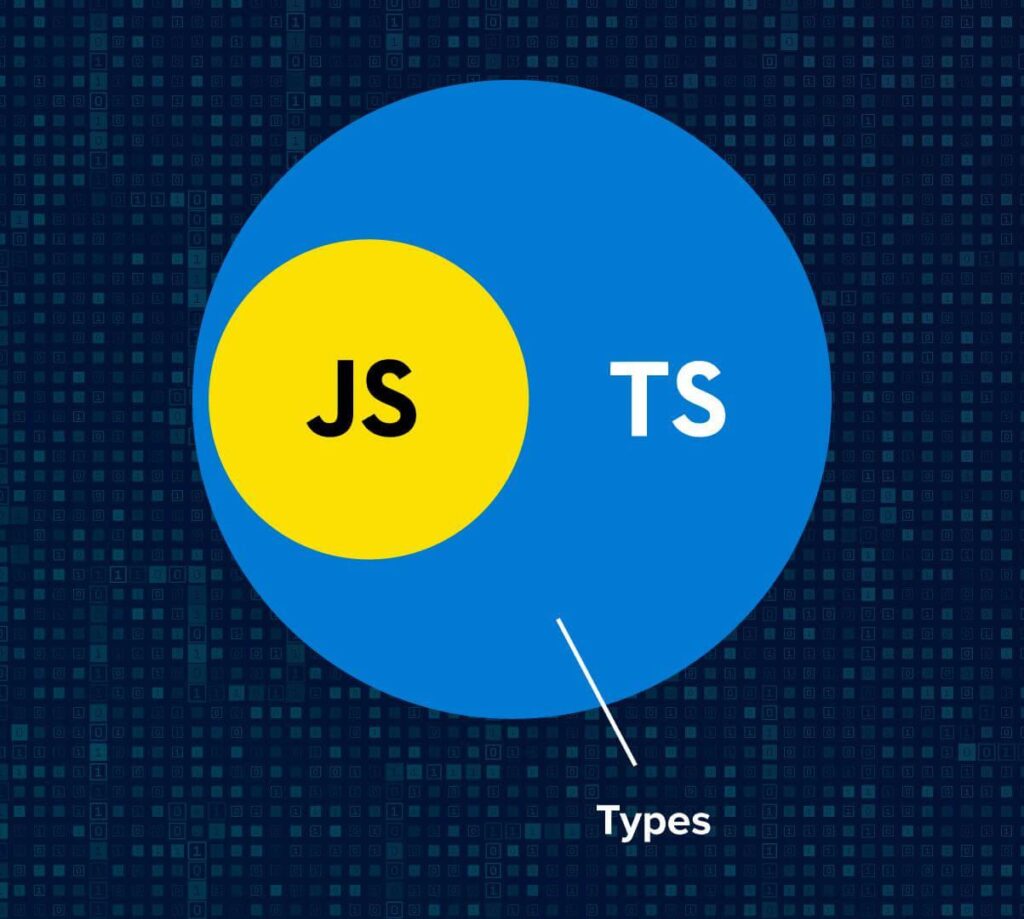
First of all, let’s lay the foundation. JavaScript is a dynamic, interpreted language that runs on the client side as well as the server side. It’s been around since the early days of the web and is supported by all modern browsers. TypeScript, on the other hand, is a superset of JavaScript that adds type annotations and other features to the language. It’s relatively new and has gained popularity in recent years.

Is TypeScript a flavor of JavaScript? No – TypeScript is not actually a flavor of JavaScript, but a superset of it, which adds static typing and other features to the language. That being said, there are other variations or extensions of JavaScript that can be used for specific purposes, such as:

  1. CoffeeScript: a programming language that compiles into JavaScript and aims to improve the readability and expressiveness of the code.
  2. Dart: a programming language created by Google that can be compiled to JavaScript and aims to be a more modern and efficient replacement for JavaScript.
  3. Elm: a functional programming language that compiles to JavaScript and is specifically designed for creating web applications with a strong emphasis on the user interface.
  4. Flow: a static type checker for JavaScript that helps catch common programming errors and prevent bugs.
  5. JSX: a syntax extension for JavaScript used by React, which allows developers to write HTML-like code that gets transformed into JavaScript.

So, when should you use TypeScript instead of JavaScript? Well, TypeScript is particularly useful for large-scale applications developed and maintained by a team of developers. When working on a project that involves a lot of code, TypeScript’s static typing can help catch errors early in the development process. This can save a lot of time and effort down the road, especially when making changes to the codebase. The article – Benefits of TypeScript, sums it up pretty well.

TypeScript can also be beneficial for teams working on a project together. With TypeScript’s type annotations, it’s easier to understand the structure and requirements of different parts of the code. This can help teams avoid conflicts and misunderstandings, leading to a more efficient development process.

Another advantage of TypeScript is its compatibility with modern web development tools and frameworks. Many popular frameworks, such as Angular and React, have embraced TypeScript and offer official support for it. This makes it easier to integrate TypeScript into your workflow and take advantage of its features. Angular CLI comes loaded with TypeScript. And, same is the case with Create React App

npx create-react-app my-app --template typescript

Now, let’s talk about when to use JavaScript instead of TypeScript. JavaScript is still the go-to language for many web developers, especially those working on smaller projects or experimenting with new technologies. Because it’s more flexible and forgiving than TypeScript, JavaScript can be a faster and more convenient language to work with for simple tasks.

JavaScript is also well-suited for prototyping and rapid development. When you’re working on a project where the requirements are likely to change frequently, it can be more efficient to work with JavaScript than to spend time adding type annotations and other TypeScript features.

Finally, JavaScript can be a more accessible language for beginners. Its simplicity and ubiquity mean that there are countless resources available for learning and troubleshooting. While TypeScript is relatively new and still evolving, JavaScript has a well-established community and ecosystem.

Would it be fair to say – under the hood, it’s all at least JavaScript? YES.

Here are the Insights for Developers and Organizations from the State of JS survey 2022.

No matter which language you choose, remember that the most important thing is to have fun and enjoy the process of building something amazing. Happy coding!

Categories
Front-end Development JavaScript

The Ultimate Front-End Tech Stack Learning Path

Reading Time: 3 minutes

Are you ready to embark on a bumpy, yet fun, journey of learning JavaScript? If so, buckle up, and let’s get started!

This blog is part one of the series – The Ultimate Front-End Tech Stack Learning Path.

Learning JavaScript can initially seem daunting, but it can be an exciting and rewarding experience with the right mindset and approach.

JavaScript – Path
  1. Start with the Basics

Just like learning any new skill, it’s essential to start with the fundamentals. JavaScript is no exception. Begin by learning the basics such as variables, data types, functions, and control structures. This may seem tedious, but these concepts are the building blocks of everything you will learn in JavaScript.

  1. Embrace the Struggle

JavaScript can be frustrating at times, but don’t give up! Embrace the struggle and know that every time you face a challenge, you are learning something new. Instead of giving up, break down the problem into smaller pieces and tackle it one step at a time. You’ll be surprised at how much you can accomplish by taking this approach.

  1. Build Projects

One of the best ways to learn JavaScript is by building projects. It’s easy to get stuck in the theoretical aspects of the language, but building something tangible will help you solidify your understanding. Start with small projects such as a to-do list app or a calculator and work your way up to more complex projects. Adding projects to your GitHub profile goes a long way.

  1. Emphasize Collaboration

JavaScript is a popular language, and there is a vast community of developers who are eager to help each other. Join online communities, attend meetups, and collaborate with other developers. Not only will you learn from others, but you’ll also make valuable connections in the industry.

  1. Experiment and Have Fun

JavaScript is a versatile language, and there is no shortage of things you can do with it. Experiment with different frameworks, libraries, and tools. Have fun with the language and try new things. You may discover something you never knew you were interested in.

Here are some of the great courses on JavaScript to get started –

Learn Modern Javascript (Build and Test Apps) – Full Course | Udemy

Once you’re done with the basics, this course – Advanced JavaScript Concepts: Gain Modern JS Developer Skills | Udemy covers all the advanced concepts in JavaScript.

It’s always advised to have a firm foundation in the core concepts before picking up any frameworks.

If you’re done with all the online tutorials, here are the top twenty topics that are essential to be effective in UI development :

  1. Closures
  2. Prototypal inheritance
  3. Object-oriented programming in JavaScript
  4. Asynchronous programming with Promises and async/await
  5. Event loop and event-driven architecture
  6. Higher-order functions
  7. Functional programming concepts in JavaScript
  8. ES6 features such as arrow functions, template literals, and destructuring
  9. Generators and iterators
  10. Error handling in JavaScript
  11. Regular expressions
  12. Code optimization techniques
  13. Web Workers
  14. Service Workers and Progressive Web Apps
  15. Server-Side Rendering (SSR)
  16. Cross-site scripting (XSS) and Cross-site request forgery (CSRF)
  17. Performance optimization techniques for JavaScript
  18. Testing frameworks such as Jest, Mocha, and Chai
  19. Modular JavaScript and bundling tools such as Webpack and Rollup
  20. Best practices for writing maintainable and scalable JavaScript code
Categories
Front-end Development JavaScript

Deep Copying Objects in JavaScript: An In-Depth Look at structuredClone()

Reading Time: 2 minutes

One of the common sources of issues in JS applications is not having a firm foundation in core concepts. With this post, I’ll cover one of the ways to deep copy Objects.

JavaScript objects are passed by reference and not by value, meaning that when you copy an object, you are copying a reference to the original object, not the object itself. To overcome this, we can use a method called structuredClone(). In this blog post, we’ll explore what structuredClone() is, how it works, its pros and cons, and some examples of how to use it.

What is structuredClone()?

structuredClone() is a method used to copy an object in JavaScript. It’s a deep copy, meaning that all properties of the original object and its nested objects are copied to a new object. Unlike shallow copying methods such as Object.assign() and the spread operator (...), structuredClone() can handle circular references, functions, and other complex data types.

How does structuredClone() work?

structuredClone() works by creating a new instance of the original object and copying all its properties to the new instance. This process continues recursively for any nested objects in the original object.

Pros of structuredClone():

  1. Deep copying: structuredClone() creates a deep copy of an object, meaning that any changes made to the copied object will not affect the original object.
  2. Handling of complex data types: structuredClone() can handle circular references, functions, and other complex data types that other copying methods cannot.
  3. Better performance: structuredClone() is faster than other deep copying methods, especially for larger objects.

Cons of structuredClone():

  1. Browser compatibility: structuredClone() is only available in certain browsers, such as Google Chrome and Mozilla Firefox. It’s not supported in Internet Explorer or Safari – “structuredClone” | Can I use… Support tables for HTML5, CSS3, etc.
  2. Limited data types: structuredClone() can only handle certain data types, such as objects, arrays, booleans, numbers, strings, and dates.

Example:

const books = [
  {
    title: "Eloquent JavaScript: A Modern Introduction to Programming",
    author: "",
  },
  { title: "JavaScript: The Definitive Guide", author: "David Flanagan" },
];
const booksBackup = structuredClone(books);

books[0].author = "Marijn Haverbeke";

console.log(booksBackup[0].author) // undefined

In this example, we can see that despite changing an object in the books array, there’s no impact on the booksBackup. Resulting in the author remaining undefined for the first book.

If you’ve been heavily using JSON.stringify(JSON.parse()), structuredClone() offers a better alternative.

The main difference between JSON.stringify(JSON.parse()) and structuredClone() for copying an object in JavaScript is the way they handle certain data types.

JSON.stringify(JSON.parse()) is a common method for copying an object in JavaScript, but it has some limitations. It only works with data types that can be represented as JSON, such as objects, arrays, booleans, numbers, and strings. It cannot handle functions, dates, or other complex data types.

structuredClone(), on the other hand, is a more robust method for copying objects in JavaScript. It can handle a relatively wider range of data types, including functions, making it a more suitable option for deep copying objects with complex structures.

Categories
Angular Front-end Development

Exploring the Angular DevTools Extension: A Beginner’s Guide

Reading Time: 4 minutes

For debugging an Angular application some prefer debugger, some only know of console.log(), while some use tools such as Angular Augury or Angular DevTools. With this post I’m gonna introduce Angular DevTools.

Angular is a robust framework for building complex web applications. One important tools I prefer for developing and debugging Angular applications is the Angular DevTools extension, which provides a variety of features for inspecting and manipulating an Angular application at runtime. In this blog post, we will explore some of the key elements of the Angular DevTools extension and how they can be used to improve the development process.

First, let’s take a look at the Elements tab, which allows you to inspect the HTML elements of your application and see how they are rendered. You can see the component tree, view the properties and state of each component, and even make changes to the HTML and see the results in real-time. This is particularly useful for debugging layout and styling issues.

Chrome DevTool – Elements Tab

Next, let’s take a look at the Component tab, which provides detailed information about each component in your application. You can see the inputs and outputs, view the component’s lifecycle events, and even trigger change detection manually. This is particularly useful for understanding how a component works and troubleshooting issues related to data binding and change detection.

Angular DevTools Components

Another useful feature of the Angular DevTools extension is the Profiler tab, which allows you to profile the performance of your application and identify bottlenecks. You can see the time taken by each component to render, view the change detection cycles, and even record a profile of your application and analyze it later. This is particularly useful for optimizing the performance of your application.

In summary, the Angular DevTools extension is a powerful tool for developing and debugging Angular applications. It provides a variety of features for inspecting and manipulating an Angular application at runtime, including the ability to inspect HTML elements, view component information, profile performance, and inspect the state of your application. This extension can help you improve the development process and troubleshoot issues more efficiently.

More on the Components Tab

The Components tab in the Angular DevTools extension provides detailed information about each component in an Angular application. It can be helpful for an Angular developer in the following ways:

  1. Inspecting inputs and outputs: The Components tab allows developers to view the inputs and outputs of a component, which can be helpful in understanding how data is being passed between components and troubleshooting issues related to data binding.
  2. Viewing component lifecycle events: Developers can see the lifecycle events of a component, such as when it is created, updated, or destroyed. This can be helpful for understanding the behavior of a component and troubleshooting issues related to change detection.
  3. Debugging change detection: Developers can manually trigger change detection and view the resulting changes, which can be helpful for troubleshooting issues related to change detection.
  4. Understanding a component’s behavior: Developers can inspect the properties and state of a component and view the resulting HTML, which can be helpful for understanding how a component works and troubleshooting issues related to layout and styling.
  5. Inspecting change: Developers can track the changes in a component, and how they affect the overall application.

Overall, the Components tab in the Angular DevTools extension provides a wealth of information about the components in an Angular application, which can be extremely useful for understanding how a component works and troubleshooting issues related to data binding, change detection, and overall behavior of the component.

More of the Profiler Tab

The Profiler tab in the Angular DevTools extension provides information about the performance of an Angular application. It can be helpful for an Angular developer in the following ways:

  1. Identifying performance bottlenecks: Developers can profile the performance of their application, view the time taken by each component to render, and view the change detection cycles. This can be helpful for identifying performance bottlenecks and optimizing the performance of the application.
  2. Analyzing performance over time: Developers can record a profile of their application and analyze it later, which can be helpful for understanding how the performance of the application changes over time and identifying patterns or trends.
  3. Debugging change detection: Developers can profile the change detection cycles of the application, which can be helpful for troubleshooting issues related to change detection.
  4. Identifying unnecessary re-renders: Developers can inspect the time taken by the component to re-render and find the unnecessary re-renders that might be causing performance issues. Pretty common when change detection strategy is not leveraged correctly.
  5. Identifying the cause of a slow app: Developers can use the profiler to see the call stacks and function calls that are taking the most time and identify the cause of a slow app.

Overall, the Profiler tab in the Angular DevTools extension provides a wealth of information about the performance of an Angular application, which can be extremely useful for identifying performance bottlenecks, understanding how the performance of the application changes over time, and troubleshooting issues related to change detection and unnecessary re-renders. This information can help developers improve the performance of their applications and provide a better user experience.

If you found this blog helpful, don’t hesitate to drop a comment. Thanks.